
")
")
")
")


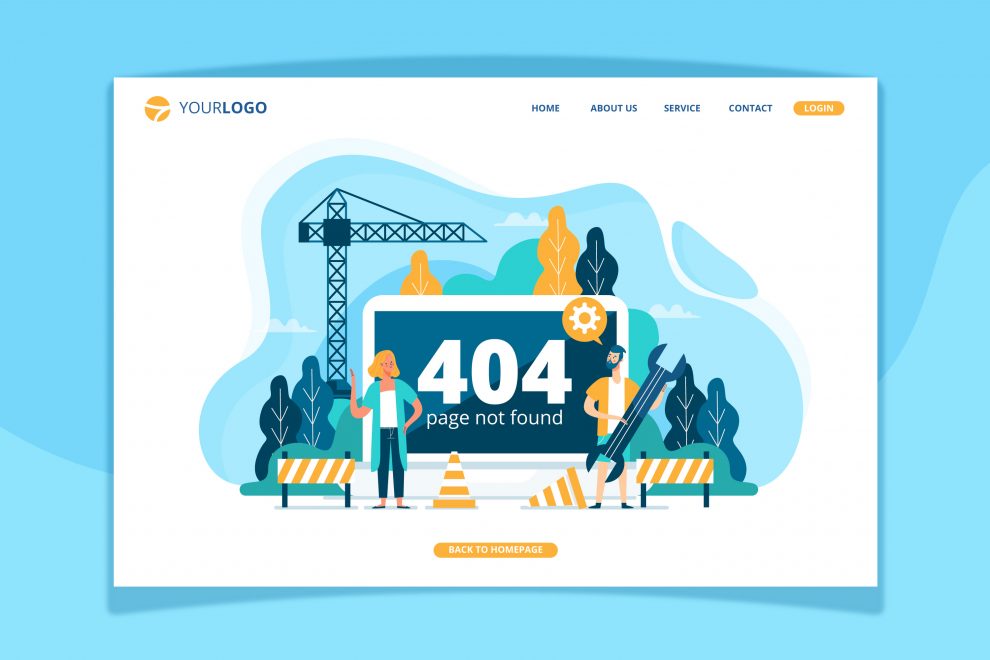
Creating a compelling user experience on your website involves not only seamless navigation but also handling errors gracefully. Among these, the infamous 404 error—indicating a missing or unavailable page—can be a disappointing encounter for visitors. However, with the Next.js framework, customizing your 404 page is a straightforward and empowering task.
Understanding Next.js
Next.js stands out as a versatile and efficient React framework, renowned for its server-side rendering capabilities. Its key features make it a popular choice among developers:
Key Features of Next.js
Server-side Rendering (SSR):
Next.js allows rendering React components on the server side, enhancing performance by delivering pre-rendered HTML to the client.Static Site Generation (SSG):
It enables generating static pages at build time, improving website performance and SEO.Automatic Code Splitting:
Next.js smartly divides the code into smaller bundles, loading only the required code for each page, optimizing performance.File-based Routing:
Intuitive routing is facilitated through a file-based system, simplifying the organization and navigation of pages.API Routes:
Next.js provides API routes for serverless functions, allowing seamless integration of backend logic within the application.
The Importance of a Custom 404 Page
A custom 404 error page goes beyond merely notifying users of a missing page; it’s an opportunity to engage and guide them back on track. Here are five reasons why customizing your 404 page matters
User Experience Enhancement:
Redirecting users to a well-designed and informative page prevents frustration, keeping them engaged with your website.Brand Consistency:
A personalized 404 page reflects your brand’s personality and values, maintaining consistency even in error scenarios.Reduced Bounce Rate:
Offering helpful navigation options on the error page encourages users to explore further, reducing the bounce rate.SEO Benefits:
A custom 404 page with relevant links and content can improve SEO by keeping visitors on the site and decreasing the likelihood of them leaving.Opportunity for Creativity:
Designing a custom 404 page allows for creativity, enabling you to add humor, visual elements, or unique messages that resonate with users.
Related: Next.js or Remix: Which Framework is Better?
Creating a Custom 404 Page in Next.js
Let’s dive into the steps required to create a custom 404 page within a Next.js application:
Step 1: Create a Custom Error Page
Firstly, in your Next.js project, navigate to the /pages directory and create a file named 404.js or […slug].js to handle all unknown routes.
Step 2: Customize the Error Page
Within the created file, you can design your custom 404 page using HTML, CSS, and React components as needed. Consider incorporating elements such as:
- A friendly and concise error message explaining the situation.
- Navigation links to popular sections of your site or a homepage link.
- Engaging visuals or illustrations relevant to your brand.
For instance
// pages/404.js

import Link from 'next/link';
import styles from '../styles/404.module.css';

const Custom404 = () => {
  return (
    <div className={styles.container}>
      <h1>Oops! This page doesn't exist.</h1>
      <p>Let's get you back to the right place:</p>
      <ul>
        <li>
          <Link href="/">
            <a>Home</a>
          </Link>
        </li>
        <li>
          <Link href="/about">
            <a>About Us</a>
          </Link>
        </li>
        {/* Add more relevant links */}
      </ul>
    </div>
  );
};

export default Custom404;
Step 3: Styling the Page
Styling your custom 404 page is crucial to ensure it aligns with your website’s design and maintains visual consistency. You can use CSS modules, Tailwind CSS, or Styled Components to style the page.
Using CSS Modules
Create a CSS Module:
Create a separate CSS module file for your 404 page, such as ‘404.module.css‘, in the same directory as your ‘404.js‘ file.
/* 404.module.css */

.container {
  text-align: center;
  padding: 50px;
}

h1 {
  font-size: 2.5rem;
  margin-bottom: 20px;
}

p {
  font-size: 1.2rem;
  margin-bottom: 30px;
}

ul {
  list-style: none;
  padding: 0;
}

li {
  margin-bottom: 10px;
}

a {
  color: #333;
  text-decoration: none;
  font-weight: bold;
}

a:hover {
  color: #000;
}
Link the CSS Module to the Component:
Import the CSS module into your ‘404.js‘ file to apply the styles to your page.
// pages/404.js

import Link from 'next/link';
import styles from '../styles/404.module.css';

const Custom404 = () => {
  return (
    <div className={styles.container}>
      <h1>Oops! This page doesn't exist.</h1>
      <p>Let's get you back to the right place:</p>
      <ul>
        <li>
          <Link href="/">
            <a>Home</a>
          </Link>
        </li>
        {/* Add more relevant links */}
      </ul>
    </div>
  );
};

export default Custom404;
Using Tailwind CSS or Styled Components
For Tailwind CSS, you can apply Tailwind classes directly within your JSX code. For Styled Components, you’ll create styled components to encapsulate the styles.
Read More: Choosing the Right Frontend Framework for IoT Applications: Angular vs. React
Step 4: Testing
To test your custom 404 page
Run Your Next.js Application:
Start your Next.js application locally.
npm run devNavigate to a Non-Existent Route:
In your browser, visit a URL that doesn’t exist within your application, like ‘http://localhost:3000/nonexistent-route‘, to trigger the 404 page.
Ensure that the custom error page displays the personalized message and navigation links as expected.
Step 5: Deployment
Deploying your Next.js application involves preparing it for production and hosting it on a chosen platform, such as Vercel, Netlify, or AWS.
Build Your Next.js Application:
Generate a production build of your Next.js app.
npm run buildDeploy to Hosting Platform:
Follow the deployment instructions provided by your chosen hosting platform to deploy the built application.
Test in Production:
Once deployed, navigate to a non-existent route on the live website to ensure that the custom 404 page functions correctly in the production environment.
Conclusion
Incorporating a custom 404 page in your Next.js application is a simple yet impactful way to improve user experience. By guiding users back on track with a well-designed and informative error page, you can maintain engagement and showcase your brand’s personality even in unexpected situations. Embrace this opportunity to turn a potential setback into a positive user interaction, enhancing the overall appeal of your website.


")
")
")
")
")
